
Mekkit University 009 - Red Rock Cliffs
Hey everyone!
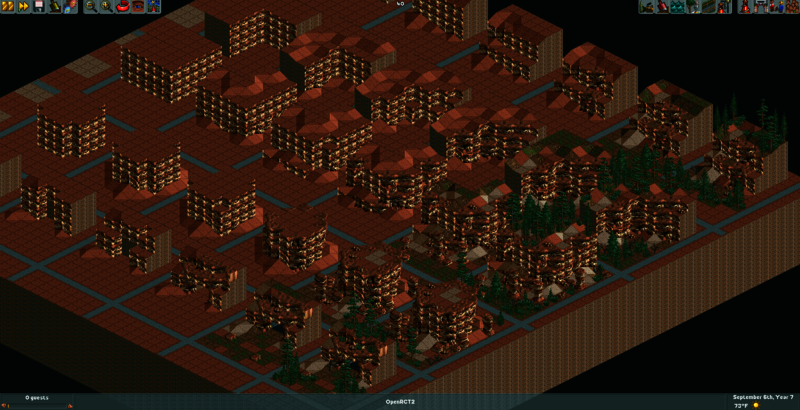
Red Rock cliffs are a great way to make your parks look organic and add verticality and depth. Here is Mekkit's guide to Red Rock Cliff formations, including an image and save file at the bottom of the page for demonstration purposes.
Red Rock Cliffs - Step by Step Instructions
- Outline: Raise up land to make chunky cliff walls. (Helps to have a general idea of how big your cliffs will be when building the rest of the park)
2. Avalanches: For the top, gently slope soil down toward the cliff. For bottom, raise piles of soil up against cliff base. (Erosion will carry dirt and rock from the top of the cliff, down to the base of the cliff where it piles up)
3. Terracing: Add more levels to the cliff, breaking it up into giant stair steps and creating a less steep cliff overall. (The elevation changes also makes the cliff more interesting to view)
4. Curves & Crevices: Use “Corner” pieces to soften boxy corners and to create large cracks or crevices in the cliff walls. (Wind and rain will naturally wear down all exposed corners, and heavy rain will create tiny, temporary waterfalls, carving grooves in the rock as they gush down from the top of cliffs)
5. Painting: Color in patches of dirt, grass, and dark sand. Add “Flat Roof” pieces for small rocks, and “Rock Formation” pieces for large boulders. (Grass patches indicate the soil has been untouched by falling rock long enough for plants to grow back)
6. Forest: Add in trees and shrubs. Add both younger trees and dead, fallen trees near the base of the cliff. (As a cliff crumbles over time, trees fall from the cliff top along with rocks and boulders, trampling any unfortunate trees growing near the cliff base)